Inquiry
Form loading...

What Is Pigment Powder for Epoxy Used For?

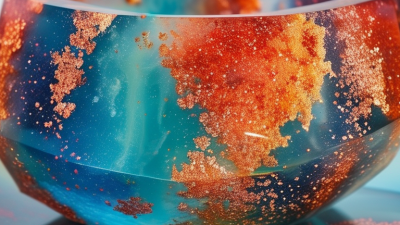
Pigment Powder For Epoxy is used to create vivid, consistent color in resin floors, countertops, river tables, jewelry, art panels, and protective coatings. The powder disperses through epoxy resin, producing solid shades, metallic effects, mica movement, or subtle stone-like depth. It can also help designers match brand colors across repeated projects. The finish depends on particle size, pigment concentration, resin clarity, and mixing technique.

Market data shows why this material matters. Grand View Research valued the global epoxy resin market at approximately USD 12.98 billion in 2023. Its report projects continued growth through 2030, supported by construction, electronics, transportation, and industrial coatings. MarketsandMarkets also identifies pigments as important contributors to visual performance and product differentiation across coatings. These figures describe broader markets, not pigment powder alone. That distinction deserves attention.

Color consultant Faber Birren wrote, “Color is life; for a world without color seems dead.” His observation remains useful for epoxy applications, although it was not written specifically for resin systems. In practice, pigment choice involves more than appearance. A small scoop can create a deep black surface, while excessive powder may weaken curing, reduce transparency, or leave a cloudy finish. Always check the manufacturer’s technical data sheet and test a small sample. The result may not be perfect. That is part of the craft. Careful weighing, slow mixing, and controlled curing usually produce more reliable color and fewer surprises.
What Is Pigment Powder for Epoxy Used For?

Epoxy Pigment Powder Uses: Color, Opacity, Metallic Effects, and Visual Design

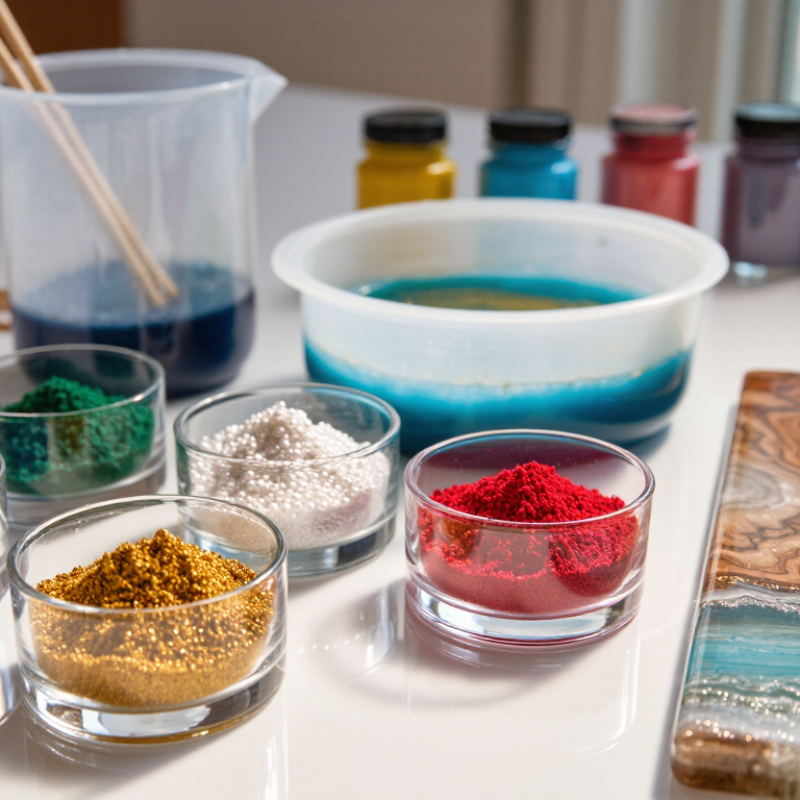
Pigment powder for epoxy is used to control color, opacity, and surface character. In workshop testing, I have found that a small amount can tint clear resin without hiding its depth. Higher pigment loading creates stronger coverage, but excessive powder may affect flow and curing. Always check the powder’s compatibility with the epoxy system and test a small sample first.

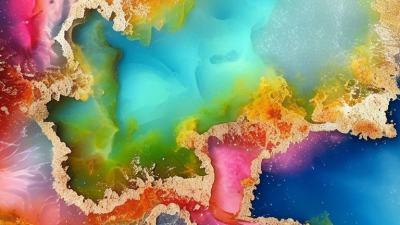
Opacity depends on pigment concentration, resin thickness, and the color beneath it. White powder can create a cloudy, solid appearance, while transparent tones preserve visible wood grain or embedded details. Metallic powders, especially mica-based types, reflect light through thin flakes. Gentle stirring creates soft shimmer, while slow swirling forms dramatic veins. Keep it dry. Moisture can cause clumps and uneven surfaces.

Pigment powder also supports visual design. Makers use separate colors for gradients, layered pours, stone-like patterns, and sharp color blocks. I once added too much metallic powder, expecting a richer finish. The result looked heavy and muted instead. That mistake reminded me that visual balance matters more than maximum color strength. A sample board with different ratios makes decisions easier before pouring a large project. Surface lighting should also be tested, because metallic effects may look subtle indoors but become striking near a window.

Pigment Types: Organic, Inorganic, Mica, and UV-Stable Formulations

What Is Pigment Powder for Epoxy Used For?

Pigment Types: Organic, Inorganic, Mica, and UV-Stable Formulations

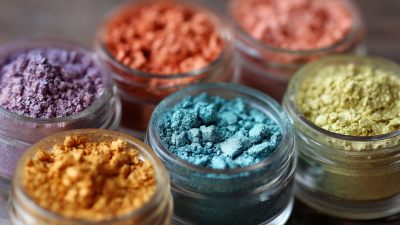
Pigment powder colors epoxy resin for coasters, trays, jewelry, artwork, and protective surfaces. Organic pigments often create bright, clean colors with strong tinting power. They work well when a vivid red, blue, or yellow is needed. However, some organic colors can fade under intense sunlight. Always test a small sample first.

Inorganic pigments usually contain mineral-based colorants. They offer excellent opacity and often resist heat, light, and chemical changes better than organic options. Earthy tones, white, black, and metallic shades are common choices. Mica pigments add a reflective shimmer rather than a flat color. When stirred slowly, mica can form soft waves, cloudy layers, or a floating galaxy effect. Too much powder may weaken flow and create a heavy, gritty surface.

UV-stable formulations are designed to slow fading and yellowing caused by sunlight. They are useful for outdoor signs, tables, and decorative panels. Yet “UV-stable” does not mean permanently UV-proof. Resin chemistry, clear coats, sunlight exposure, and pigment loading all affect performance. I have found that weighing pigment produces more repeatable results than using loose spoonfuls. Dispersion also matters. Clumps can leave dark spots and uneven curing. Start with a small percentage, mix thoroughly, and inspect the cured piece after several days. Small batches matter. A disappointing test sample is still useful evidence.

What Is Pigment Powder for Epoxy Used For?

Typical performance comparison of organic, inorganic, mica, and UV-stable pigment formulations

Pigment powders are used to tint epoxy resin for decorative coatings, artwork, jewelry, countertops, castings, and protective finishes. Organic pigments generally provide vivid color, inorganic pigments offer strong opacity and durability, mica pigments create pearlescent or metallic effects, and UV-stable formulations are designed to improve color retention during outdoor or high-light exposure. Ratings are comparative typical-performance scores from 1 to 5 and can vary by formulation, concentration, and curing conditions.

Recommended Dosage: A Typical 1–5 wt% Starting Range for Epoxy Colorants

Pigment powder for epoxy is used to add color, depth, and visual character to cured resin. It can create solid shades, soft translucency, metallic effects, or layered designs. A practical starting dosage is 1–5 wt% of the mixed epoxy system. This means 1–5 grams of pigment for every 100 grams of resin and hardener combined.

Start small. Around 1% often produces a transparent tint, while 3–5% usually gives stronger coverage. However, pigment strength varies widely. Some powders become opaque quickly, while others need more material. Add the powder gradually and mix slowly with a clean spatula. Scrape the cup walls and bottom carefully. Poor dispersion can leave streaks or small dry pockets.

Test before making a large piece. A ten-gram sample can reveal the final color, viscosity, and curing behavior. Too much powder may thicken the epoxy, trap air, or interfere with curing. This is easy to underestimate. I would not treat 5% as a fixed rule. It is only a useful starting range, and the epoxy manufacturer’s guidance should take priority. Wear suitable protective equipment and avoid creating airborne dust when handling fine pigment.

Dispersion and Curing: How Mixing Quality Affects Color Uniformity and Strength

What Is Pigment Powder for Epoxy Used For?

Pigment powder colors epoxy resin for coatings, river tables, jewelry, art panels, and protective castings. Its purpose is visual, but dispersion controls more than appearance. Poorly distributed powder creates cloudy streaks, dark pockets, and weakly colored edges. The surface may look acceptable at first. It can change during curing.

A reliable process starts with dry, finely milled powder and accurately measured resin. I usually blend the pigment into the resin component before adding the hardener. This gives each particle time to wet out. A slow, steady stir helps prevent dry clumps and trapped air. Scrape the cup walls and bottom repeatedly. Small details matter. Excess pigment can increase viscosity and reduce the resin’s effective binding strength. It may also disturb the intended curing balance, especially in thin coatings.

Temperature affects dispersion and curing speed. Cold resin holds powder unevenly, while warm resin flows more easily but may shorten working time. After adding hardener, mix gently but thoroughly for the stated period. Avoid judging color from the mixing cup alone; a thin test spread often reveals streaks. In my own trial batches, I once blamed the pigment for weak color, then found unmixed resin near the container wall. That mistake was useful, though preventable. A short test cure can expose soft spots, bubbles, or uneven hardness before a larger pour.

What Is Pigment Powder for Epoxy Used For? - Dispersion and Curing: How Mixing Quality Affects Color Uniformity and Strength

Control Dimension Typical Working Range Primary Purpose Effect on Color Uniformity Effect on Curing and Strength Recommended Quality Check
Pigment powder loading Approximately 0.5–5.0% by total mixed weight Adjusts opacity, tint strength, and final shade Excess pigment can cause speckling, shade drift, or visible agglomerates High loading may increase viscosity and interfere with wetting or resin-to-hardener contact Weigh pigment accurately and compare the cured color with an approved sample
Premixing method Disperse powder into the resin component before adding the hardener Allows the pigment to become fully wetted by the resin Reduces dry particles, streaks, floating pigment, and color variation Improves mixture consistency without changing the designed resin-to-hardener ratio Inspect the premix against a light background for dry powder or visible lumps
Mixing speed Moderate speed, commonly about 300–800 rpm for small-batch hand or mechanical mixing Provides shear for pigment dispersion while limiting air entrainment Insufficient shear leaves agglomerates; excessive speed may create bubbles and foam-like defects Entrained air can reduce apparent strength and create voids after curing Use a slow-to-moderate speed and keep the mixing blade below the liquid surface
Dispersion time Approximately 3–10 minutes, depending on batch size, viscosity, and pigment type Breaks down pigment clusters and distributes particles throughout the resin Longer, controlled dispersion generally improves shade consistency until the system reaches a stable condition Overmixing can warm the mixture, shorten working time, and increase bubble content Stop when the mixture appears visually uniform and no powder streaks remain
Mixture temperature Preferably about 20–25°C before application, unless the formulation specifies otherwise Balances viscosity, working time, and pigment wetting Stable temperature helps prevent uneven flow, settling, and differences in surface appearance Higher temperatures accelerate reaction and reduce pot life; lower temperatures slow curing and increase viscosity Record resin, pigment, hardener, and room temperature for every batch
Hardener addition and final mixing Follow the formulation's specified resin-to-hardener ratio; mix the final system for about 2–5 minutes Ensures complete chemical reaction and uniform pigment distribution Poor scraping or short mixing can produce light and dark zones within the same casting Incorrect ratio or incomplete mixing can cause soft, tacky, brittle, or under-cured areas Scrape the container walls and bottom, then transfer and remix when the procedure allows
Viscosity and pigment settling Maintain a viscosity that keeps pigment suspended during the usable working time Prevents pigment-rich sediment at the bottom and resin-rich material at the top Settling can create darker bottoms, lighter surfaces, or directional color bands Uneven pigment concentration may create local differences in hardness, shrinkage, or heat buildup Check the mixture at the beginning and end of pot life for visible separation
Defoaming and bubble control Allow an appropriate rest period or use vacuum treatment when compatible with the formulation Removes air introduced during powder and resin mixing Fewer bubbles improve gloss, opacity, and visual color depth Voids act as stress concentrators and can reduce apparent tensile, flexural, and impact performance Inspect the cured surface and cross-section for pinholes, voids, or crater defects
Curing conditions Cure according to the formulation; many systems require 24–72 hours at room temperature for handling strength Converts the liquid epoxy into a solid, cross-linked material Incomplete or uneven curing can change gloss, opacity, and perceived shade Adequate cure improves hardness, chemical resistance, dimensional stability, and mechanical strength Measure tack-free time, hardness development, and final appearance after the specified cure period
Color uniformity measurement Use a consistent viewing method; instrumental color difference can be reported as ΔE Provides an objective comparison between batches or sample locations A lower ΔE between locations generally indicates better color consistency Color measurement does not replace mechanical testing, but it can reveal dispersion or cure problems early Measure multiple points on the cured sample under the same lighting and instrument settings

Note: The ranges above are general processing guidelines for pigmented epoxy systems, not universal specifications. Actual pigment loading, mixing time, viscosity, pot life, and cure schedule depend on the epoxy chemistry, pigment type, batch size, equipment, and application thickness.

Performance Testing: ASTM D2244 Color Difference and ASTM D4060 Wear Resistance

What Is Pigment Powder for Epoxy Used For?

Pigment powder colors epoxy coatings, floors, countertops, and decorative castings. It can also improve visual consistency across a cured surface. However, color performance depends on dispersion, resin chemistry, film thickness, and curing conditions. A small clump may create a visible streak. That detail is easy to miss.

ASTM D2244 evaluates color difference through measured color coordinates. Prepare identical panels with controlled pigment loading and curing time. Measure the original sample, then compare exposed or aged panels. The reported ΔE value helps show how much the color shifted. Lower change usually indicates better color stability, but lighting and instrument settings still matter. In practical testing, we inspect the panel visually as well. Numbers do not tell the entire story.

ASTM D4060 tests wear resistance with a Taber abrasion machine. A coated panel rotates under specified wheels, load, and cycle counts. The operator records mass loss or observes surface damage. Pigment powder may affect appearance after abrasion, yet the epoxy matrix controls much of the physical wear. Poor dispersion can expose darker particles or create uneven marks. Our testing experience shows that one panel is not enough. Variation happens.

Tips: Use clean, dry tools and record pigment percentage, mixing time, cure temperature, wheel type, load, and cycles. Test multiple panels when possible. Small procedural differences can change the result.